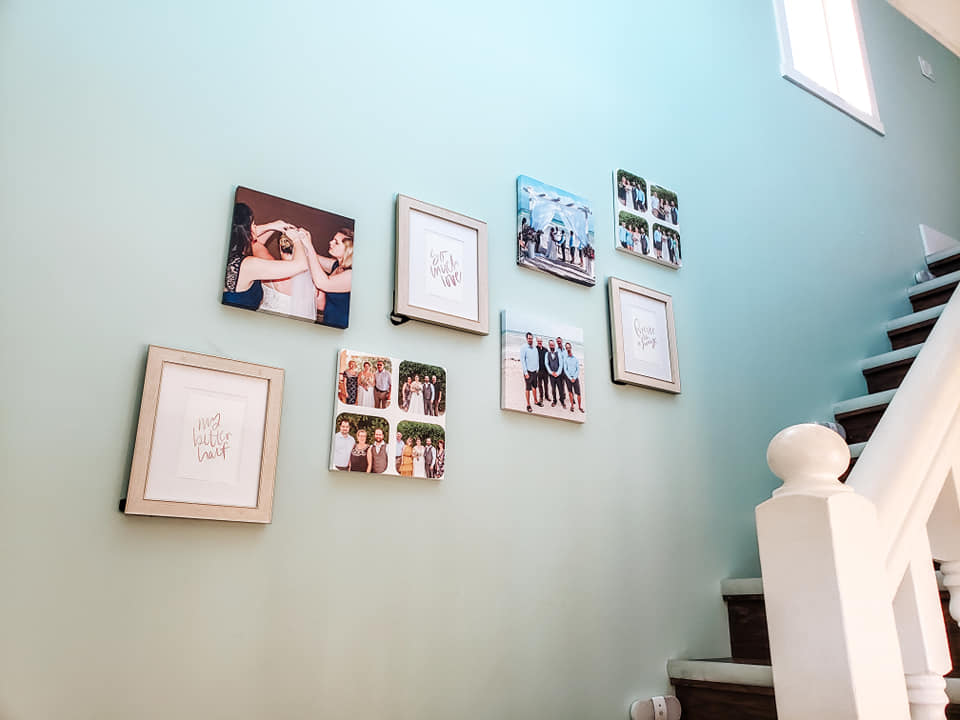
Hey and Welcome back! Today I'm going to share with you how I did "Do It Yourself" Gallery Wall. I love a good gallery wall with pictures along the staircase. It makes any place more inviting and a way to share important moments. I chose pictures from our destination wedding, uploaded it onto the Chatbooks app, made Gallery Wall Tiles and waited until they got delivered to me. If you'd like to see what else I used for the gallery wall and how it turned out, keep reading.
A couple weeks ago I went to Walmart to grocery shop and the clearance stand caught my eye and I saw the cutest/simple 8x10 picture frames for $9 each! Down below I'll list some favourites, I can't seem to find the exact ones that I bought but these are just as cute!
LANGDON HOUSE WHITE REAL WOOD PICTURE FRAMES/Better Homes & Gardens: Metal Wall Photo Frames/Craig Frames Jasper Country Marshmallow Frame/Stonebriar Decorative Stamped Gold 7 Piece Photo Frame Set/Gallery Perfect Gray Square Photo Frames Set of 9/
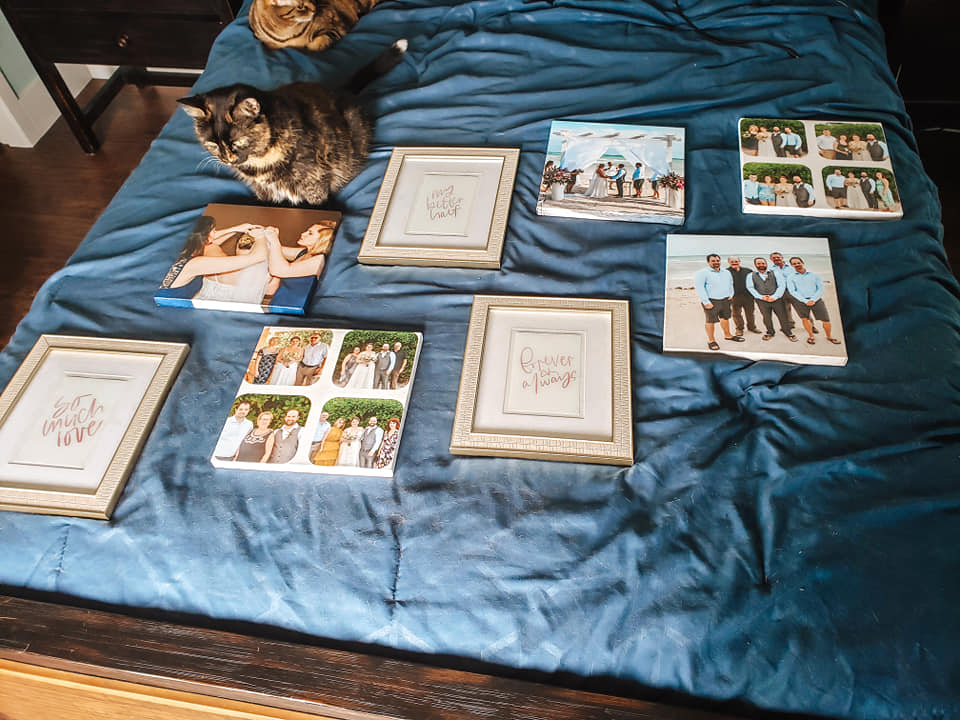
The amazing thing about the gallery wall tiles from Chatbooks is that each tile has a strip of tape on the back so the tile is able to be taken off the wall and moved without damaging the wall! How neat is that?! I arranged the gallery tiles and photo frames on the bed, to see how I want them to be arranged before they get hung on the wall. I was able to out the gallery tiles on the wall by myself but I waited for my husband to come home and help me hang the photo frames because they need nails to go into the wall. They're top heavy to hang on wall tapes. I'm not worried about using nails on the wall because if there's ever a moment that we want to move the frames and cover the wall, we can do that. Plus, it's a home we OWN! We can do anything! What an amazing feeling it is that you're able to break down walls, put nails in them, change wall colours in your own home without having to worry about checking and asking permission from anyone ahead of time.
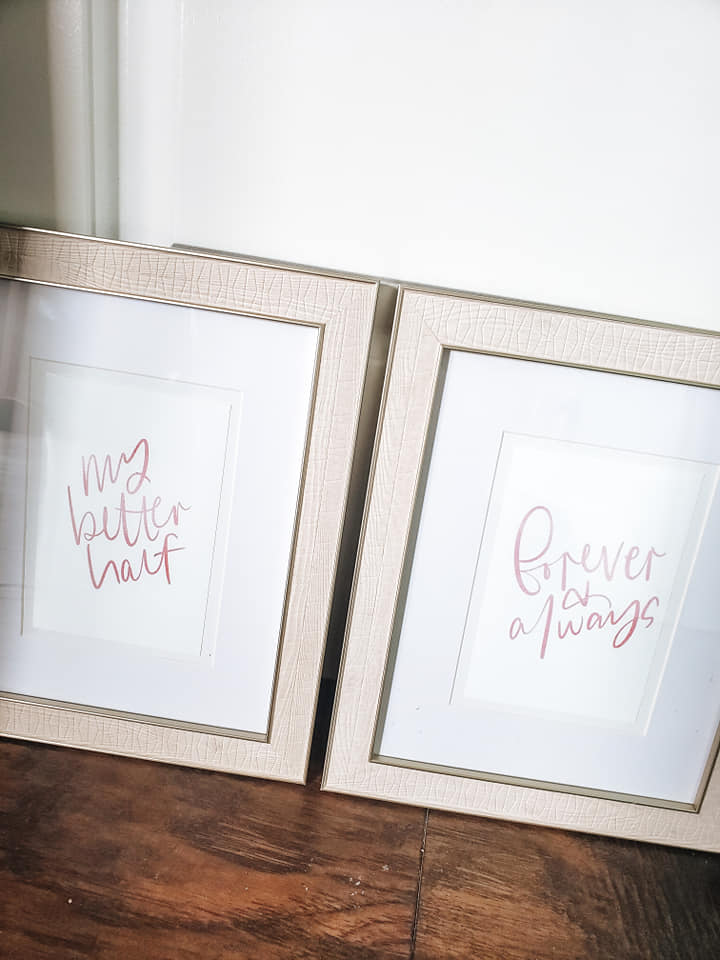
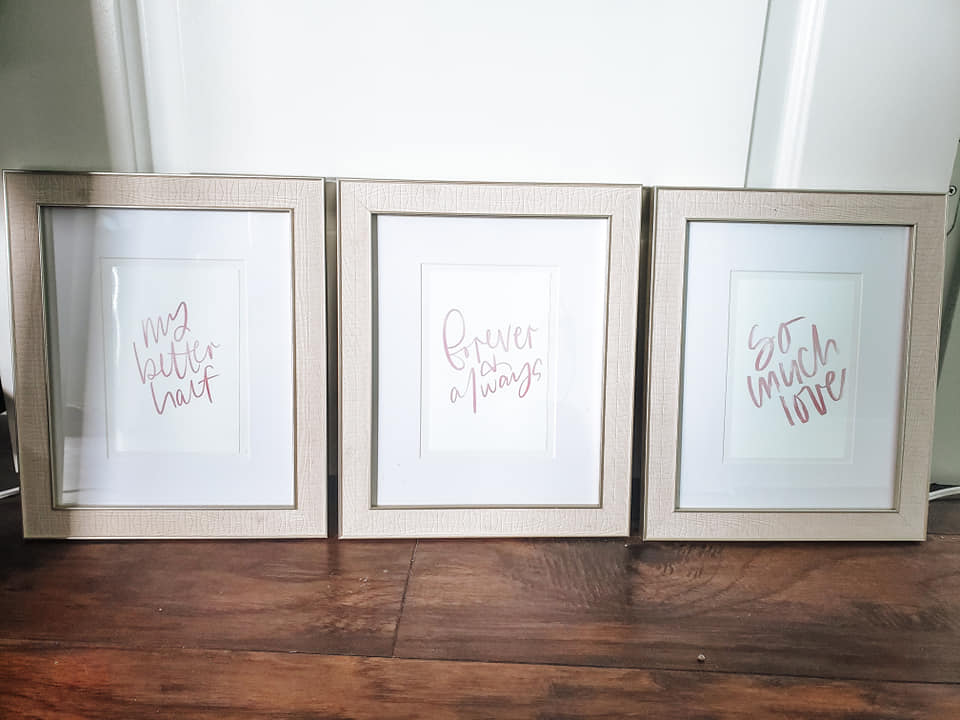
I bought photo paper from Walmart, A5 and 8x10. I printed some favourite quotes and put the photo paper into those cute/simple frames I bought from Walmart. They finished product looks amazing! I can't stop staring at the frames!!!
This is the finished Gallery Wall! I love it so much! Once there's more pictures to add, there's a lot of wall space to use and expand it. I'm planning on ordering pictures of my fur babies and once we have children, I'll add their pictures onto the wall. This wall is part of a corner on the left side of it. On the other wall on the left, I'd like to make another gallery wall, only with frames this time on some of my own favourite photography.
Have a great evening and thanks for stopping by Let's Get Ready Blog.

